Intel realsense camera on Raspberry Pi
Prerequisites
- Microsd card,
- Microsd-SD adapter
- A computer that can read and flash the microsd card.
Procedure
Read this Using depth camera with Raspberry Pi 3 to get a general idea.
- In the computer,
sudo apt-get install rpi-imager or snap install rpi-imager - Open the imager and use the dropdown menu to select the OS version (Ubuntu server 20.04 for me) and where to write to (microSD card) and write
- Put the microusb in the rPi slot and it would take on to the installation screen and will take a few minutes to finish.
- For installing
librealsense, follow the steps without the kernal patch as shown in Linux installation or download the last version oflibrealsense(for ROS1) supported is v2.50.0. - Build it with
cmake ../ -DBUILD_EXAMPLES=true -DBUILD_GRAPHICAL_EXAMPLES=true -DFORCE_RSUSB_BACKEND=ON make -j$(nproc)sudo make install
Observations
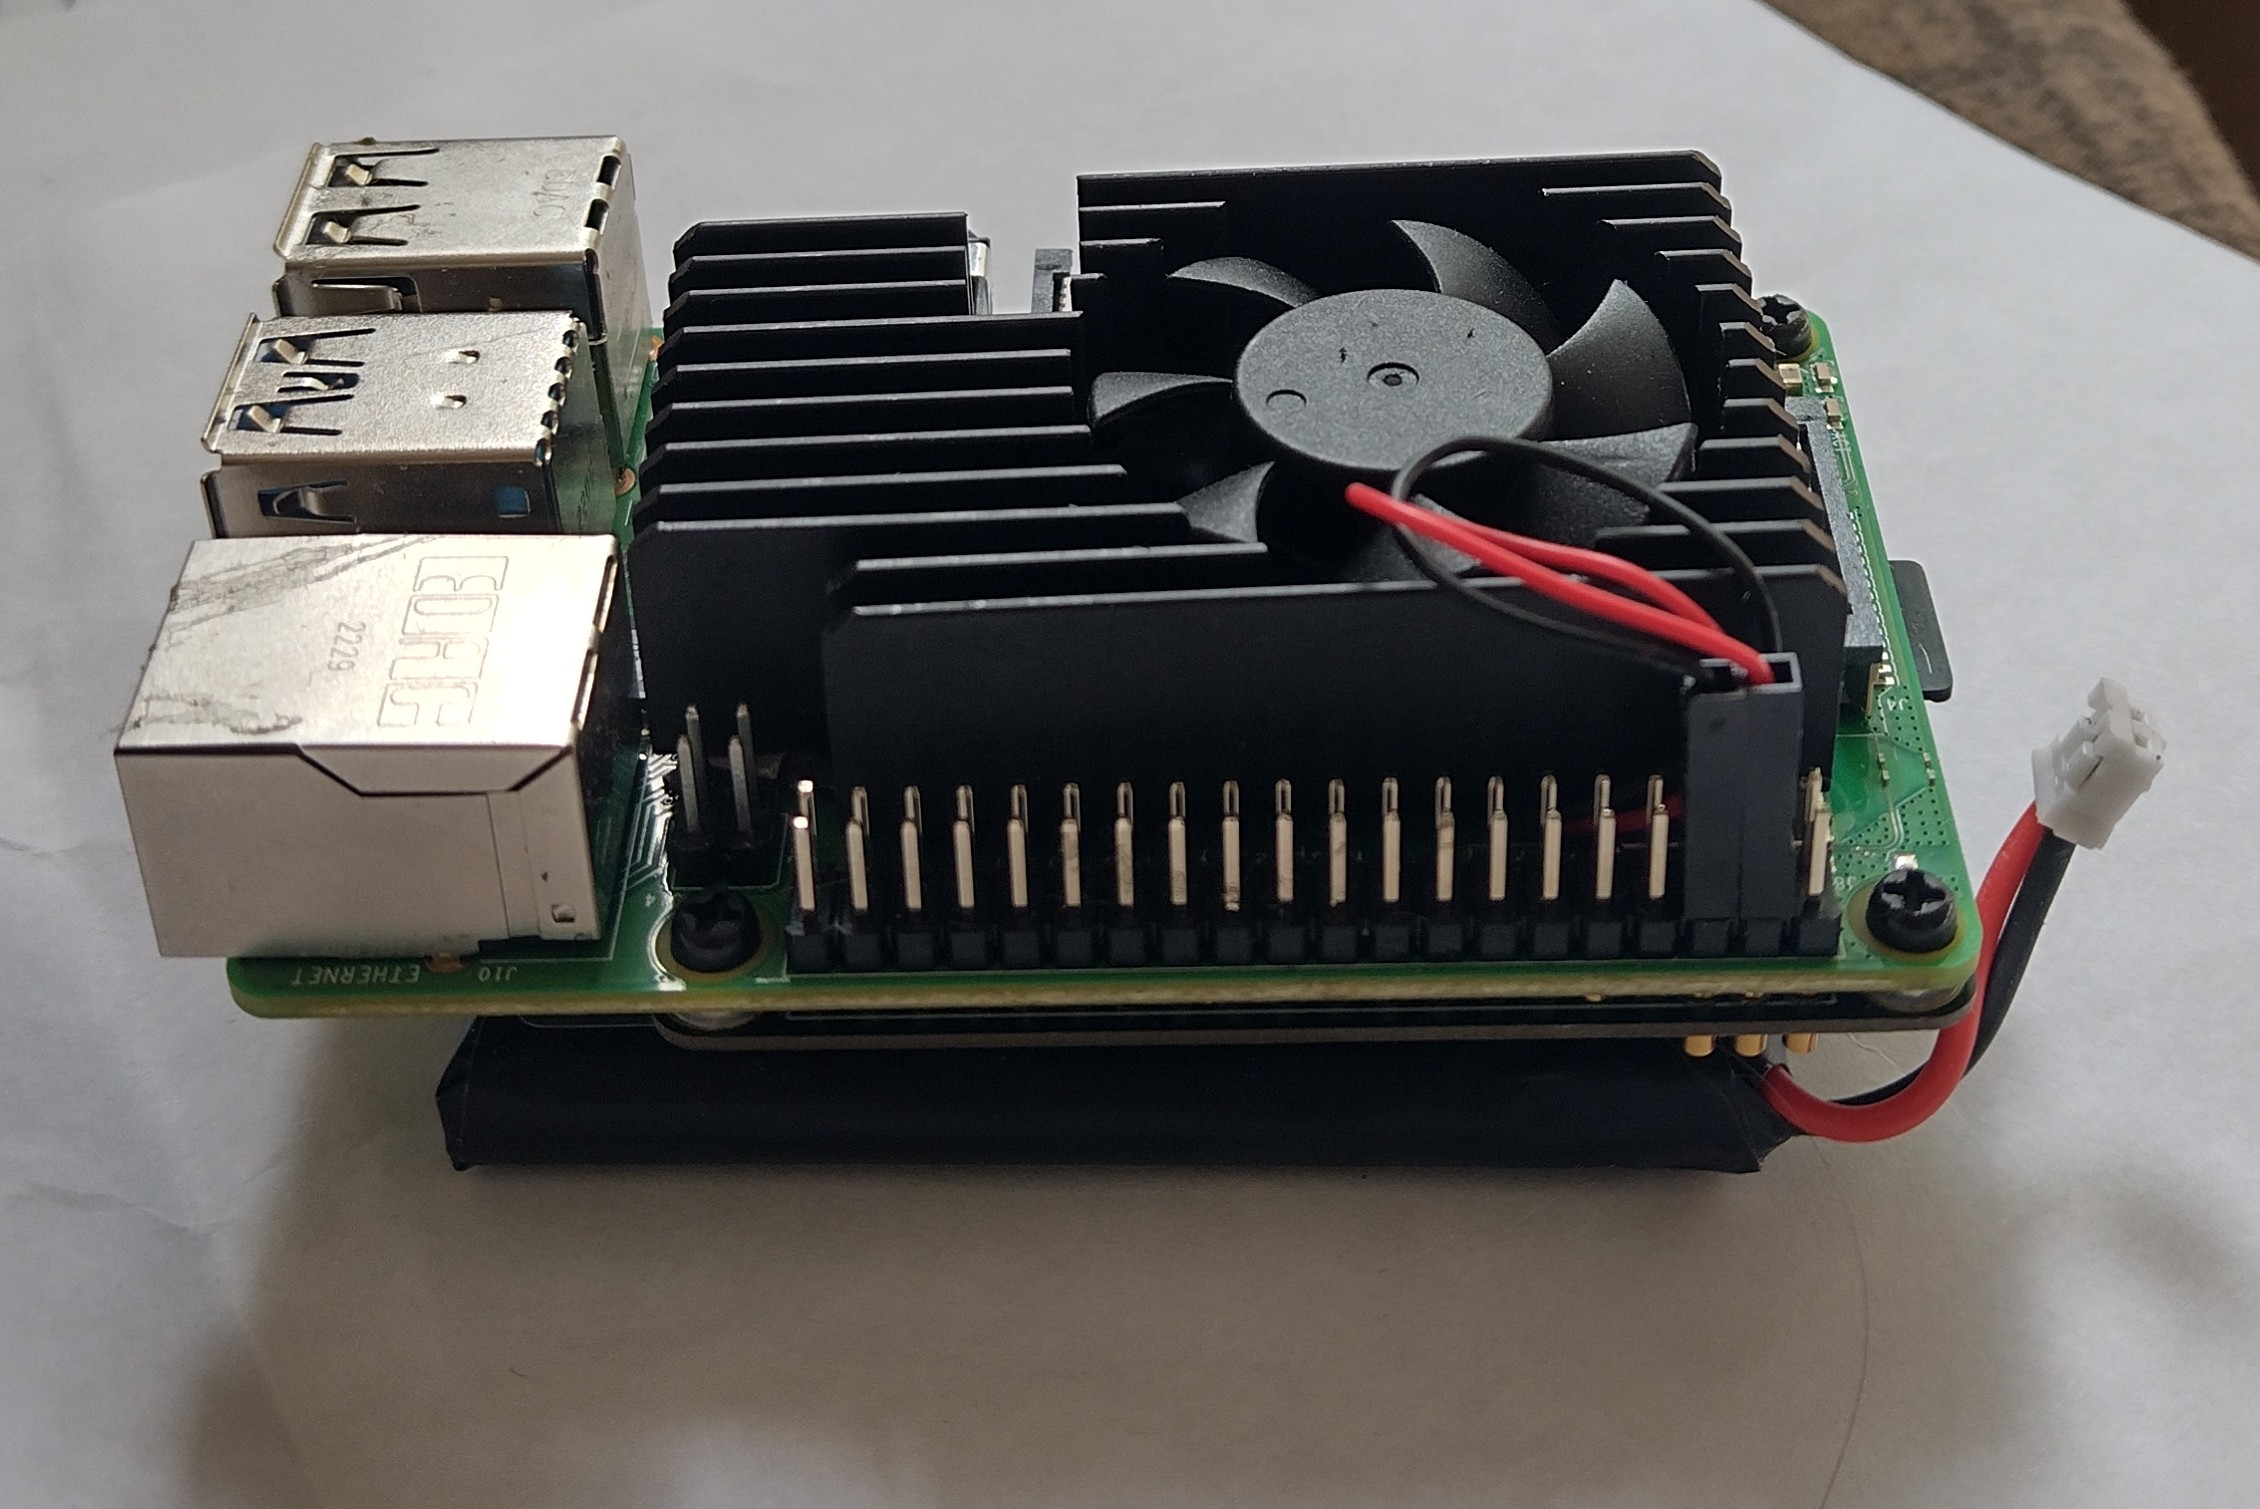
The rPi was able to run the realsense-viewer and the camera showed both RGB and depth images. After running it for a few minutes, the rPi automatically rebooted. I suspect this could be because of overheating as the rPi was very hot to touch. So I added a fan and also a battery for portability.
